(with zero coding and full control)
If you run a small business where clients schedule services — whether it’s events, classes, workshops, or one-to-one sessions — having an online booking system is no longer optional. It’s essential.
A well-built, professional-looking booking website helps you accept bookings 24/7, allowing customers to conveniently schedule services online anytime, from anywhere. With automation features, it streamlines scheduling, reduces manual administrative tasks, and helps save time by minimising scheduling conflicts and no-shows.
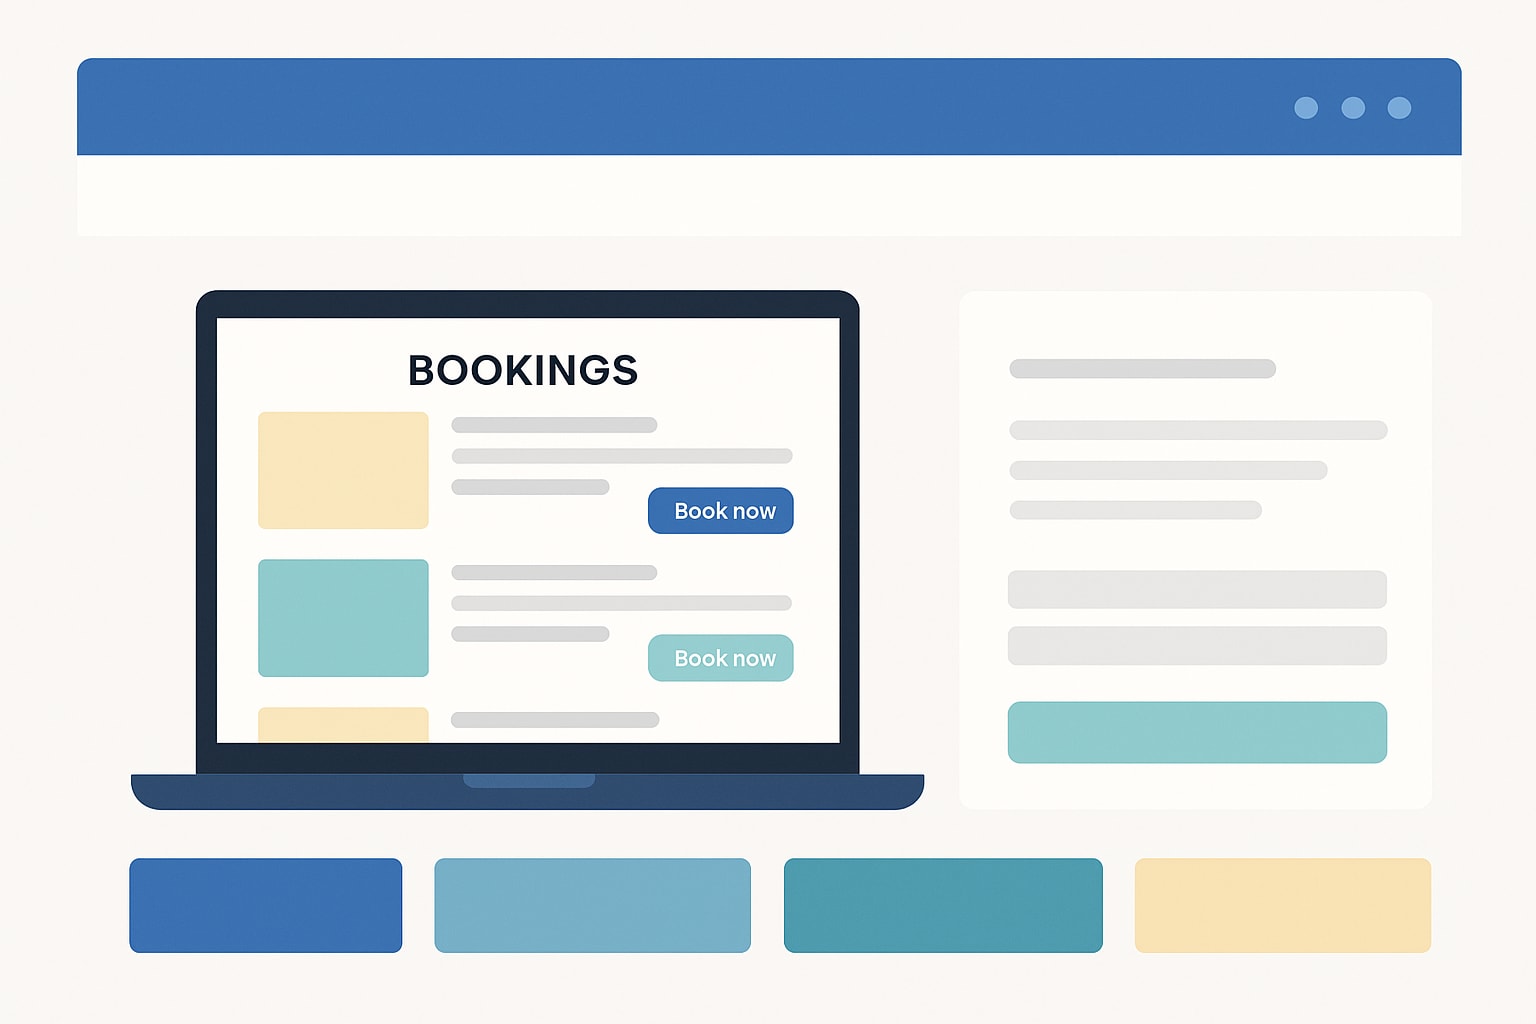
Clients can easily book appointments through your booking website, making the booking process seamless for both you and your customers.
In this guide, we’ll walk through step-by-step how to build your own booking-enabled website with Baluu. You’ll learn how to create listings, set pricing, connect to a payment provider, set up website pages, and share your site so clients can easily book your services.
Why Use a Booking System (vs. Manual Appointment Scheduling)
Manual appointment scheduling takes up valuable time and resources, and creates room for error — double bookings, lost notes, and confusion over time zones.
A good scheduling tool or appointment scheduling software makes it easy for clients to book directly from your website. Customers can view real-time availability, book appointments quickly from any device, and receive automatic confirmations and reminders.
Integrating payment processing (so customers pay upfront or at booking) reduces cancellations, locks in commitment, and improves cash flow.
A booking website (or booking widget embedded into your existing website) gives your business a professional look, helps scale without extra paperwork, and improves customer satisfaction by providing a seamless experience.
Step 1: Go to Baluu and Sign Up
To start building your booking website, go to https://app.baluu.io/signup and create your free Baluu account.
Baluu is designed for creators, coaches, and small business owners who want to take online bookings without any coding or technical setup. You’ll have your own booking page ready to customise in just a few minutes.
Here’s how to get started:
- Fill in your personal details: Enter your name, email address, and create a secure password.
- Add your business details: Include your company name, business email, and a short description of what you offer. Upload your logo to personalise your account and make your brand recognisable.
- Set your regional settings: Choose your time zone, currency, and country to ensure your bookings display correctly for you and your customers.
- Save your details: Once saved, you’ll be taken to your Baluu dashboard, where you can start adding services, setting availability, and customising your booking website.
Tip: All Baluu features are completely free to use, so you can set up and manage your full booking system without any cost.
Step 2: Create Your Listings
Once your Baluu account is set up, the next step is to create the services, classes, or events that customers will be able to book.
From your Dashboard, go to Listings and click “Add Listing.”
Here, you’ll choose the type of service or event you’d like to offer and customise all the details.
Choose Your Event Type
Baluu offers several listing types depending on your business needs:
- Appointment: One-on-one bookable slots for private sessions, consultations, or personal training.
- Regular: Standalone sessions such as workshops, drop-in classes, or one-off events.
- Multi-Day: Packages like courses, weekend retreats, or multi-day events.
- Termly: Recurring sessions over a fixed schedule (ideal for ongoing classes or programmes).
- Rent (upcoming): For booking items or facilities like equipment or studio rentals.
- Stage (upcoming): For ticketed performances or large events.
Add Your Event Details
- Title: The name of your class, session, or event.
- Description: A clear summary of what customers can expect.
- Image: Upload a photo that best represents your listing.
- Price: Set your ticket or session price.
- Keywords: Add relevant terms so clients can easily find your listing.
When ready, click Create Event. It will be saved as a draft until your booking website is published.
For more information and a detailed walkthrough, check out our full guide here: How to Create an Online Booking System
Step 3: Build or Customise Your Website / Booking Page
Now that your listings are ready, it’s time to customise your booking page using Baluu’s built-in website builder.
Go to Website → Pages in your dashboard. You’ll find your core pages:
- Events
- Timetable
- Products
- Get in touch (Contact)
- About us
Each page can be edited by clicking the three-dot menu and selecting Edit.
About Us Page
Add your title, short description, brand colours, and header image. You can also show team members to introduce your business.
Contact Page
Add your contact info, phone number, email, and location. To display your location:
- Go to Services → Settings → Locations → Add location.
- Return to the Contact page and select it from the dropdown.
Timetable Page
Show upcoming appointments or sessions. Add a title, description, colours, and a header image.
Events Page
Display all your listings in one place. Customise the title, description, colours, and filters (e.g., event type, date, or location).
Landing Pages (Optional)
Create sections like “Adults Only” or “Kids Classes.” Go to Website → Pages, add a new page, name it, and filter listings by tag. For more info check Adding pages to arrange your listings.
Once saved, your updates will appear on your live booking website, giving your business a professional, user-friendly design.
Step 4: Configure Business Settings & Payment
Next, set up your payment provider and business preferences.
- Connect your Stripe account (new or existing): Go to Business → Stripe → Connect.
- Set your cancellation policy, rescheduling rules, and any fees or restrictions. For help, see: Terms and Conditions Policy Guide.
- Configure automatic reminders, including email reminders, pre-event notes, and review requests. This keeps customers informed and helps reduce no-shows.
Learn more: Baluu Auto Emails & Dispatch Centre.
Step 5: Test Everything & Launch
Before launching, test the entire booking process from a customer’s perspective:
- Choose a service, pick a date, fill in the booking form, and make a test payment.
- Try it on both mobile and desktop to ensure your booking website is responsive.
- Check for scheduling conflicts, errors, or missing fields.
If you need help, go to Support to access:
- Live chat
- Email support
- Schedule a call
- Or browse the Help Centre for detailed tutorials on using Baluu’s booking system.
Once everything looks perfect, publish your site and start sharing your booking page or embedding your booking widget into your existing website.
Conclusion
A booking website transforms how you manage your business. Instead of endless phone calls and emails, you offer clients a fast, 24/7 way to schedule appointments, pay upfront, and confirm instantly.
You’ll gain more bookings, save time, reduce manual work, and provide a seamless, professional experience.
Whether you embed a booking widget into an existing website or create a full standalone site, Baluu’s online booking system gives you complete control and the perfect solution to manage your services effortlessly.
Written by
Ruta Jogminaite
Expert in booking systems and appointment-based business optimization.
More to explore
Continue Reading

How to Get Your First 100 Customers: 10 Proven Strategies for New Businesses
Learn how to get your first 100 customers with practical, low-cost marketing strategies. Discover tips for social media, referrals, email marketing, local partnerships, and online bookings with Baluu.

Please Don't Use Baluu If You Enjoy Admin
Still managing bookings through messages, spreadsheets and bank transfers? Discover the 10 signs your business might be ready for Baluu.

Why Women's Circles Are One of the Fastest Growing Micro-Business Opportunities in 2026
Discover why women's circles are becoming one of the fastest-growing micro-business opportunities and learn how to turn community gatherings into a sustainable business with memberships, recurring revenue, and the right tools.